
A technology-based financial service company, PayPal facilitates online payments between customers and merchants worldwide. The PayPal platform offers secure, affordable, and convenient online financial services, making e-commerce transactions easy and secure for millions of consumers and merchants globally. Customers can link their credit or debit card or their bank account to their PayPal account to make online purchasing simpler and safer.
Cloudflare R2 is a new security solution that aims to protect organizations from sophisticated cyber attacks. It combines Cloudflare's existing security products with new features such as advanced bot detection and mitigation, real-time threat intelligence, and enhanced DDoS protection. R2 also includes a new security dashboard that provides organizations with a comprehensive view of their security posture and allows them to quickly respond to threats. The solution is designed to be easy to deploy and manage, making it accessible to organizations of all sizes. Overall, Cloudflare R2 is a powerful tool for organizations looking to improve their security posture and protect against the latest cyber threats.

1. Open the Airbyte platform and navigate to the "Sources" tab on the left-hand side of the screen.
2. Click on the "Add Source" button and select "PayPal Transaction" from the list of available connectors.
3. Enter a name for the connector and click on the "Next" button.
4. Enter your PayPal API credentials, including the Client ID and Secret, in the appropriate fields.
5. Click on the "Test" button to ensure that the credentials are valid and that the connection to PayPal is successful.
6. Once the test is successful, click on the "Save" button to save the connector and add it to your list of sources.
7. You can now use the connector to extract data from your PayPal transactions and integrate it with other data sources in Airbyte.
8. To configure the connector, you can select the specific data fields that you want to extract from your PayPal transactions and set up any necessary filters or transformations.
9. Once the connector is configured, you can schedule regular data syncs to ensure that your data is always up-to-date and accurate.
1. Log in to your Cloudflare account and navigate to the R2 destination connector page.
2. Generate an API token by clicking on the "Create Token" button.
3. Select the appropriate permissions for the token and give it a name.
4. Copy the API token to your clipboard.
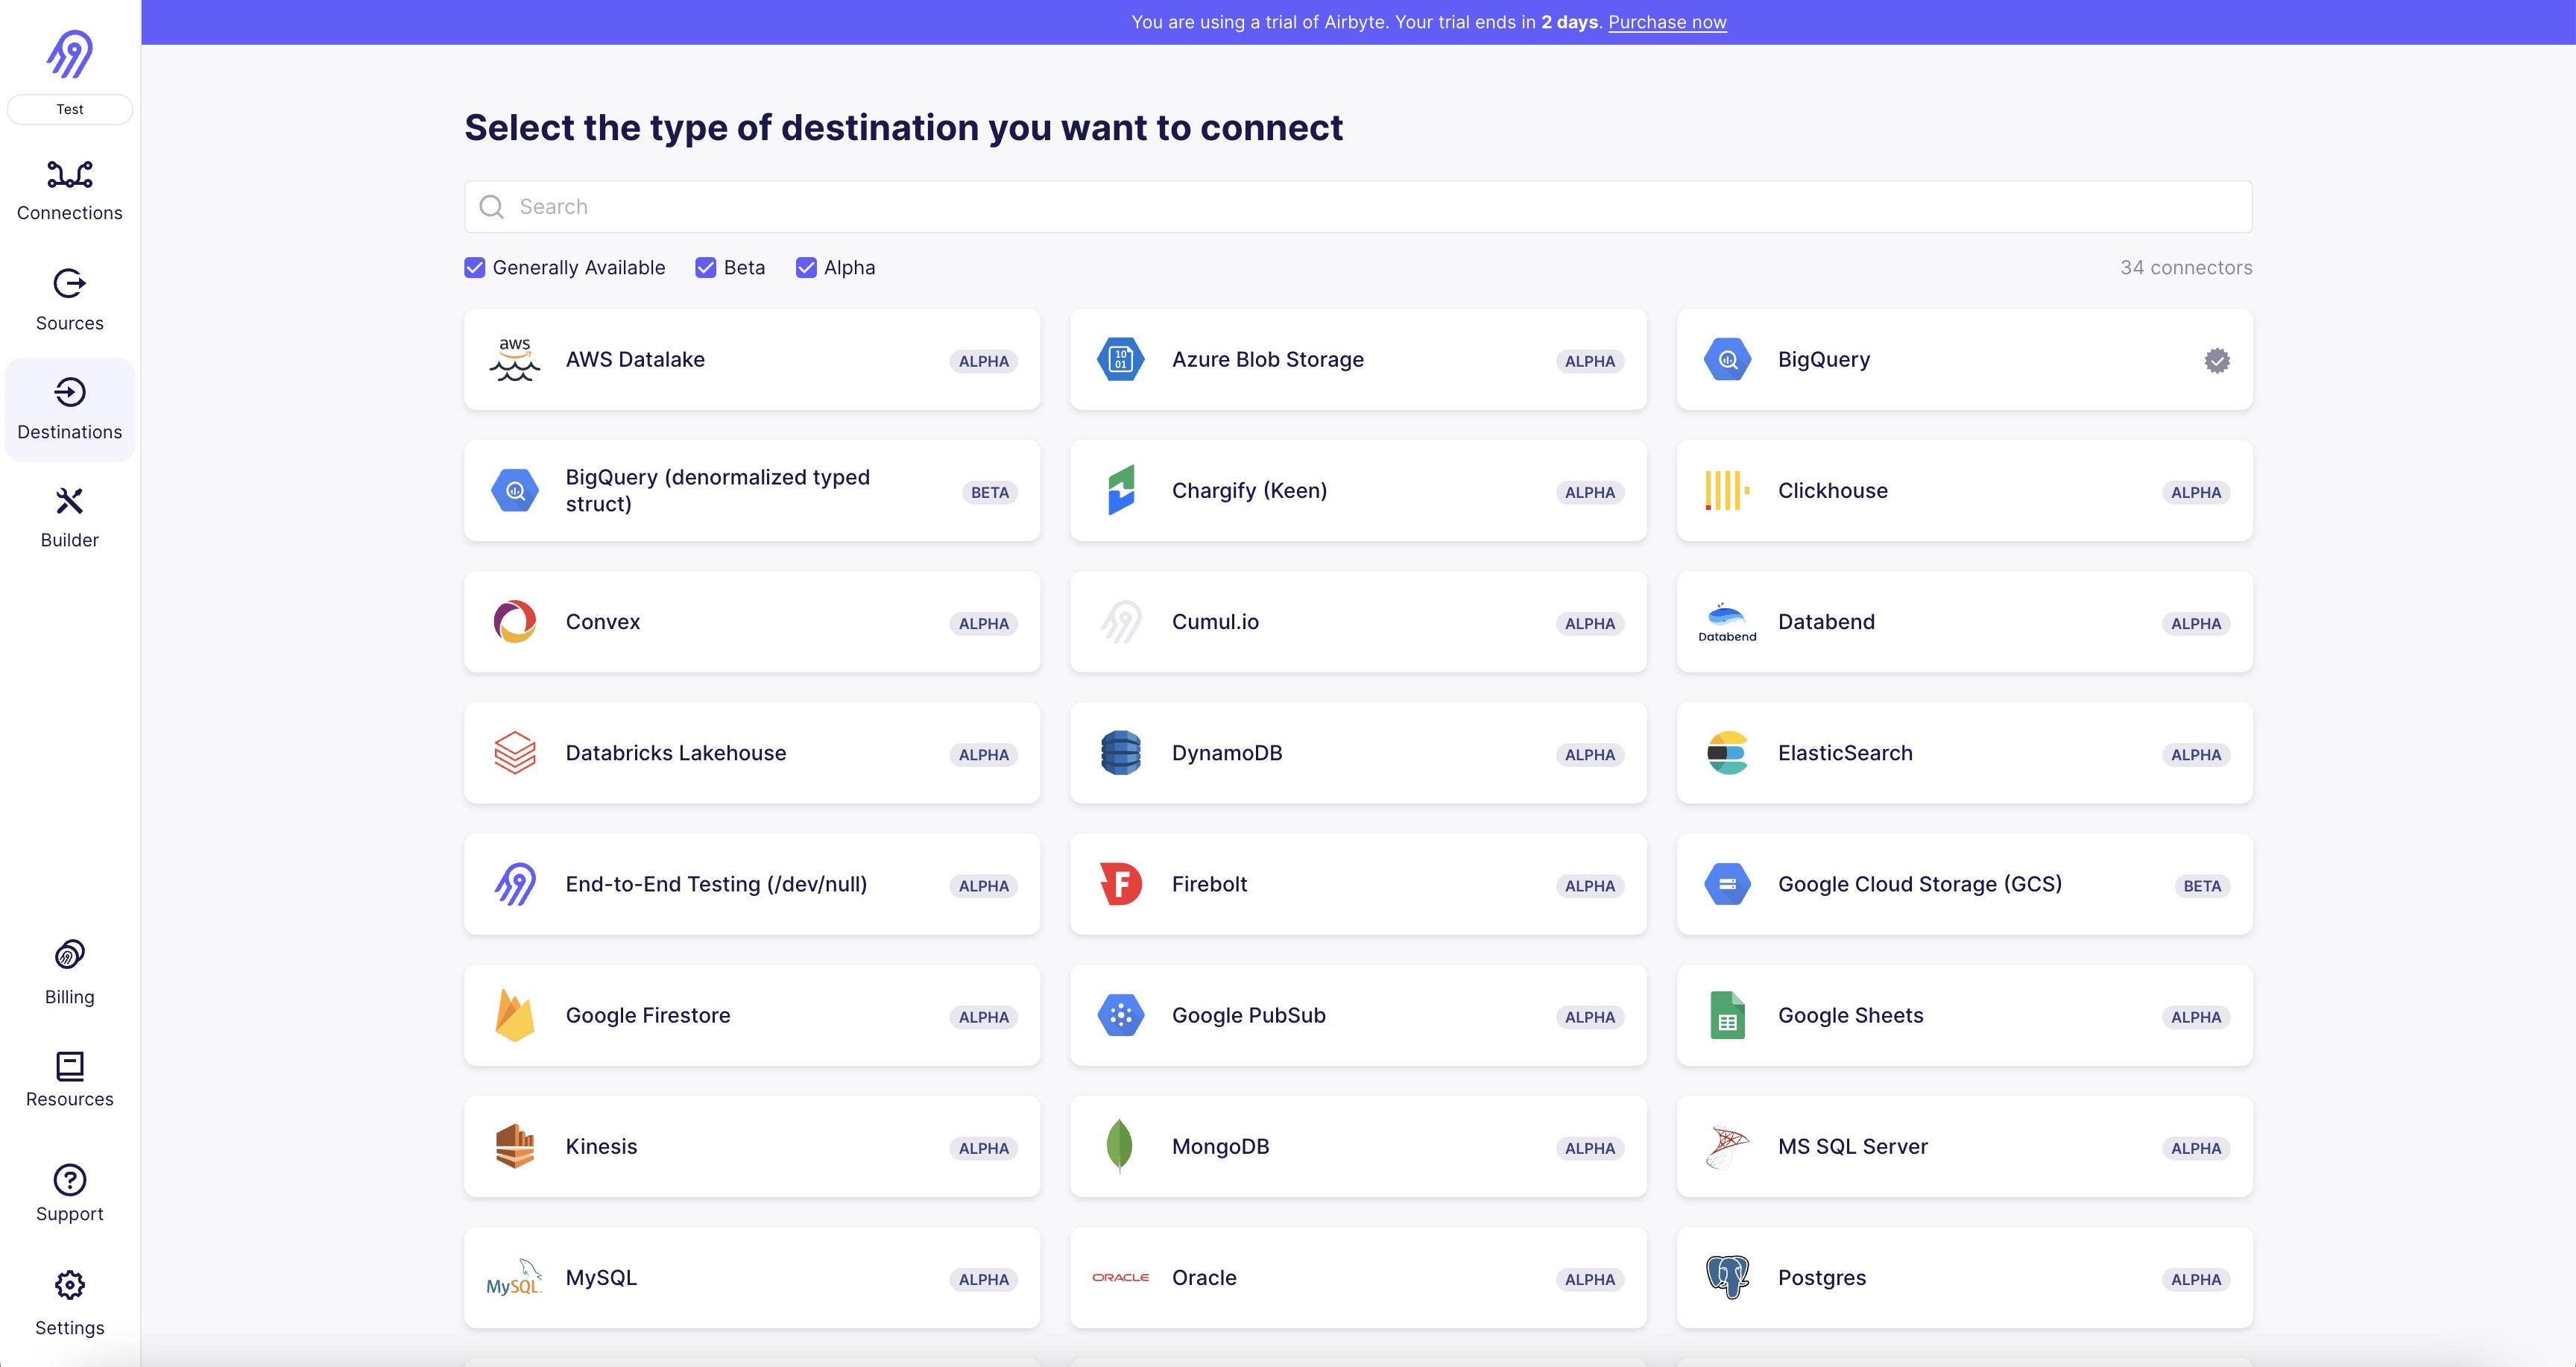
5. Log in to your Airbyte account and navigate to the "Destinations" page.
6. Click on the "Add Destination" button and select "Cloudflare R2" from the list of available connectors.
7. Enter your Cloudflare account email address and paste the API token into the appropriate fields.
8. Click on the "Test Connection" button to ensure that Airbyte can connect to your Cloudflare account.
9. If the connection is successful, click on the "Save" button to save your Cloudflare R2 destination connector settings.
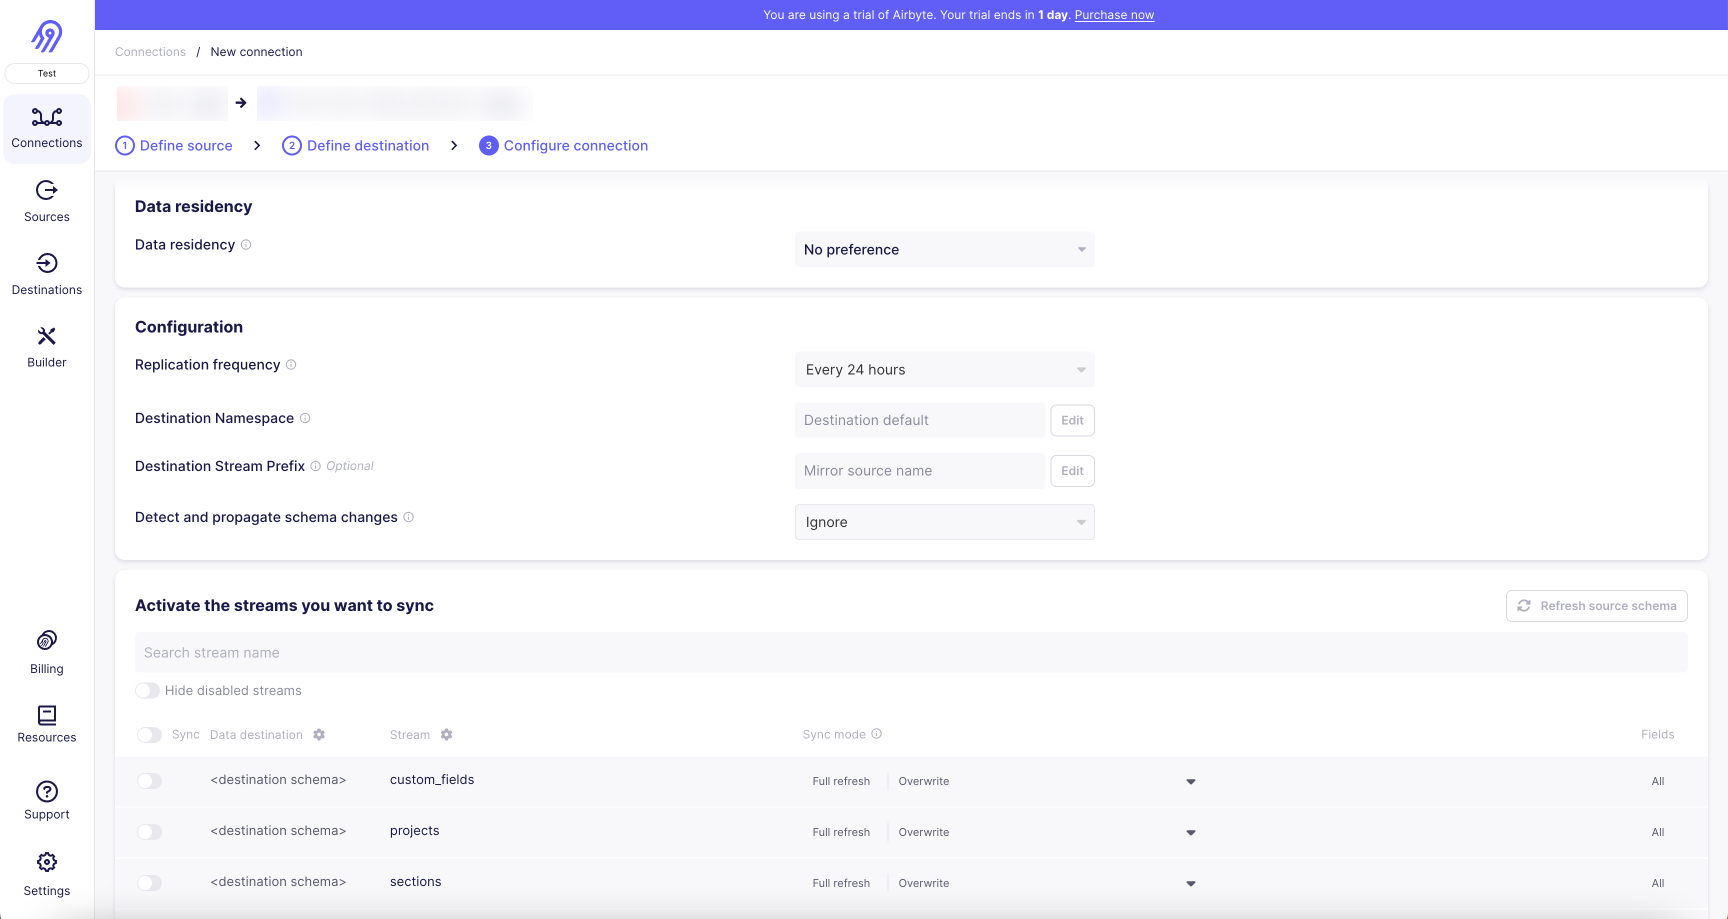
10. You can now use Airbyte to transfer data from your source connectors to your Cloudflare R2 destination connector.
With Airbyte, creating data pipelines take minutes, and the data integration possibilities are endless. Airbyte supports the largest catalog of API tools, databases, and files, among other sources. Airbyte's connectors are open-source, so you can add any custom objects to the connector, or even build a new connector from scratch without any local dev environment or any data engineer within 10 minutes with the no-code connector builder.
We look forward to seeing you make use of it! We invite you to join the conversation on our community Slack Channel, or sign up for our newsletter. You should also check out other Airbyte tutorials, and Airbyte’s content hub!
What should you do next?
Hope you enjoyed the reading. Here are the 3 ways we can help you in your data journey:


What should you do next?
Hope you enjoyed the reading. Here are the 3 ways we can help you in your data journey:
Should you build or buy your data pipelines?
Download our free guide and discover the best approach for your needs, whether it's building your ELT solution in-house or opting for Airbyte Open Source or Airbyte Cloud.

Ready to get started?
Frequently Asked Questions
PayPal Transaction's API provides access to a wide range of data related to transactions processed through the PayPal platform. The following are the categories of data that can be accessed through the API:
1. Transaction details: This includes information about the transaction amount, currency, date, and time.
2. Buyer and seller information: This includes details about the buyer and seller, such as their names, email addresses, and PayPal account IDs.
3. Payment status: This includes information about the status of the payment, such as whether it has been completed, pending, or refunded.
4. Payment method: This includes information about the payment method used, such as credit card, PayPal balance, or bank transfer.
5. Shipping information: This includes details about the shipping address and shipping method used for the transaction.
6. Tax and fee information: This includes details about any taxes or fees associated with the transaction.
7. Refund and dispute information: This includes information about any refunds or disputes related to the transaction.
8. Custom fields: This includes any custom fields that were included in the transaction, such as order numbers or product descriptions.