Warehouses and Lakes
Sales & Support Analytics

How to load data from Zendesk Support to Snowflake destination

Learn how to use Airbyte to synchronize your Zendesk Support data into Snowflake destination within minutes.

TL;DR

This can be done by building a data pipeline manually, usually a Python script (you can leverage a tool as Apache Airflow for this). This process can take more than a full week of development. Or it can be done in minutes on Airbyte in three easy steps:

  1. set up Zendesk Support as a source connector (using Auth, or usually an API key)
  2. set up Snowflake destination as a destination connector
  3. define which data you want to transfer and how frequently

You can choose to self-host the pipeline using Airbyte Open Source or have it managed for you with Airbyte Cloud.

This tutorial’s purpose is to show you how.

What is Zendesk Support

Zendesk Support is a software designed to help businesses manage customer interactions. It provides businesses with the means to personalize support across any channel with the ability to prioritize, track and solve customer issues. Also built for iOS, Zendesk Support can be accessed on iPhone and iPad, adding a new dimension to the ability to add the necessary people to a customer conversation at any time.

What is Snowflake destination

A cloud data platform, Snowflake Data Cloud provides a warehouse-as-a-service built specifically for the cloud. The Snowflake platform is designed to empower many types of data workloads, and offers secure, immediate, governed access to a comprehensive network of data. Snowflake’s innovative technology goes above the capabilities of the ordinary database, supplying users all the functionality of database storage, query processing, and cloud services in one package.

Integrate Zendesk Support with Snowflake destination in minutes

Try for free now

Prerequisites

  1. A Zendesk Support account to transfer your customer data automatically from.
  2. A Snowflake destination account.
  3. An active Airbyte Cloud account, or you can also choose to use Airbyte Open Source locally. You can follow the instructions to set up Airbyte on your system using docker-compose.

Airbyte is an open-source data integration platform that consolidates and streamlines the process of extracting and loading data from multiple data sources to data warehouses. It offers pre-built connectors, including Zendesk Support and Snowflake destination, for seamless data migration.

When using Airbyte to move data from Zendesk Support to Snowflake destination, it extracts data from Zendesk Support using the source connector, converts it into a format Snowflake destination can ingest using the provided schema, and then loads it into Snowflake destination via the destination connector. This allows businesses to leverage their Zendesk Support data for advanced analytics and insights within Snowflake destination, simplifying the ETL process and saving significant time and resources.

Step 1: Set up Zendesk Support as a source connector

1. First, you need to obtain your Zendesk Support API credentials. To do this, log in to your Zendesk Support account and navigate to the Admin settings. From there, select the API option and click on the "Add API Token" button. Follow the prompts to create a new API token and copy the token to your clipboard.  
2. Next, open the Airbyte platform and navigate to the "Sources" tab. From there, select the Zendesk Support source connector and click on the "Create New Connection" button.  
3. In the connection settings, enter a name for your connection and paste the API token you copied earlier into the "API Token" field.  
4. In the "Subdomain" field, enter the subdomain of your Zendesk Support account (e.g. if your Zendesk Support URL is "https://example.zendesk.com/", your subdomain would be "example").  
5. In the "Username" and "Password" fields, enter the email address and password associated with your Zendesk Support account.  
6. Click on the "Test" button to ensure that your credentials are valid and that Airbyte can connect to your Zendesk Support account.  
7. Once the test is successful, click on the "Save & Continue" button to proceed to the next step.  
8. In the next screen, you can select the specific data you want to replicate from your Zendesk Support account. You can choose to replicate tickets, users, organizations, and more.  
9. Once you have selected the data you want to replicate, click on the "Save & Test" button to ensure that your configuration is correct.  
10. If the test is successful, click on the "Create Connection" button to finalize your Zendesk Support source connector configuration. Your data will now be replicated from Zendesk Support to your destination of choice.

Step 2: Set up Snowflake destination as a destination connector

1. First, navigate to the Airbyte website and log in to your account.

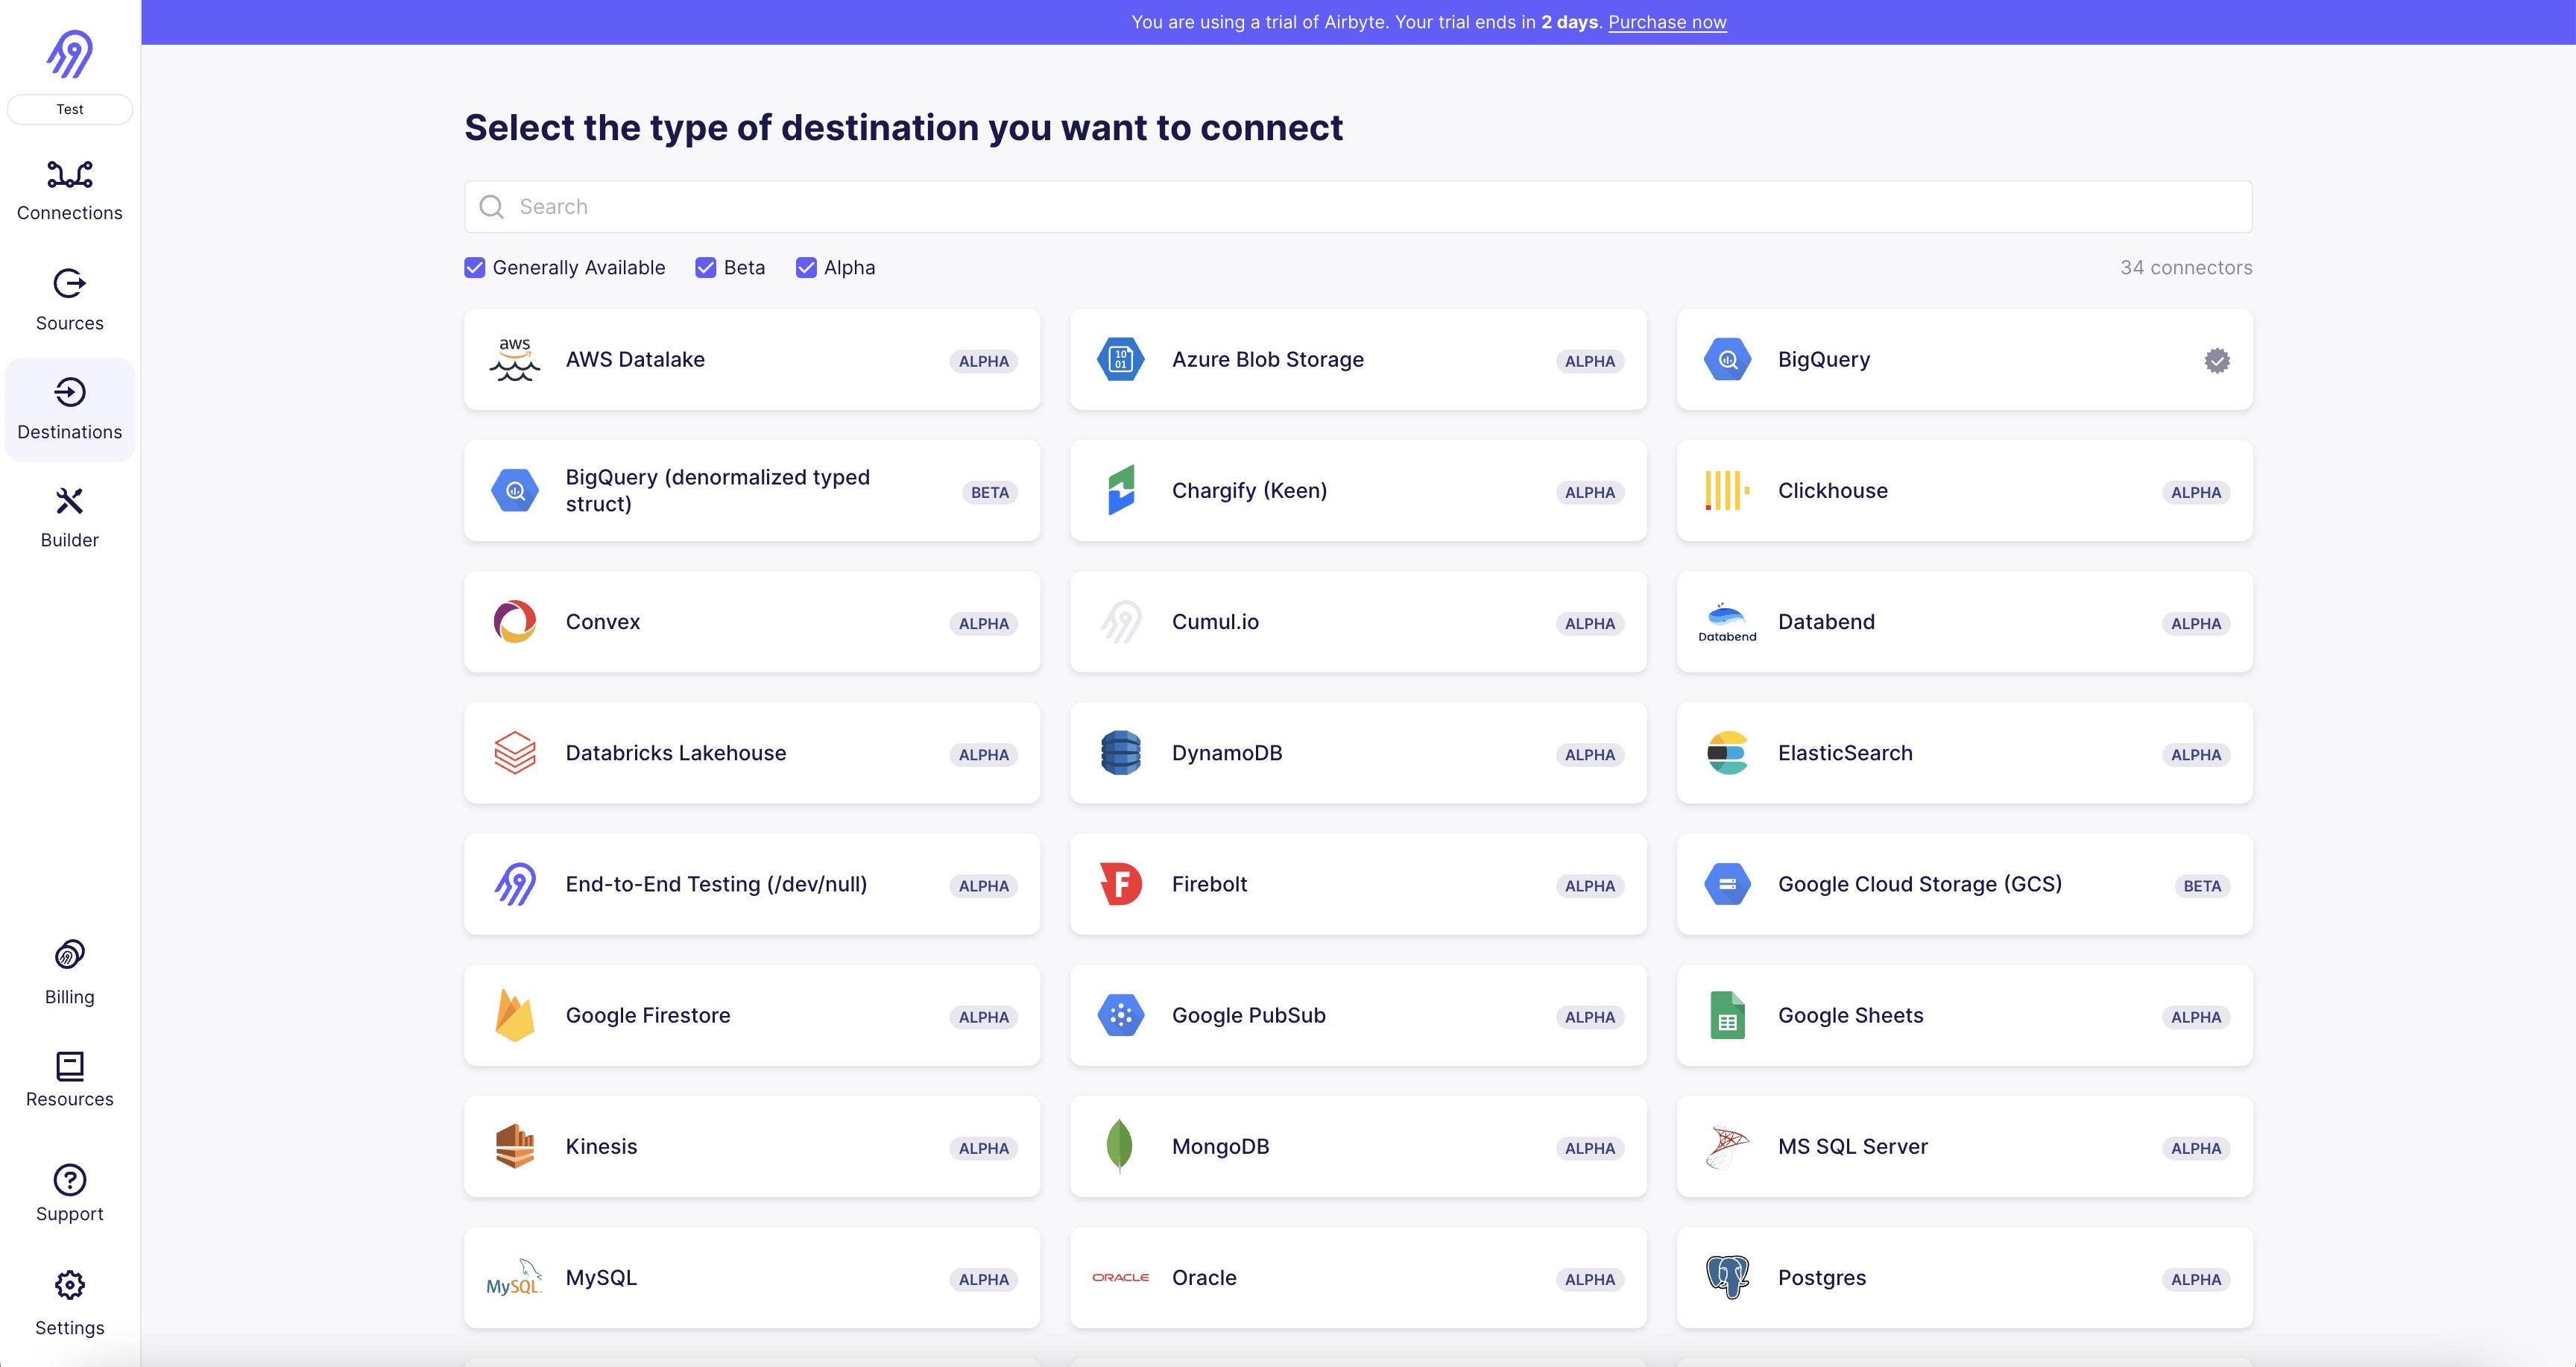
2. Once you are logged in, click on the "Destinations" tab on the left-hand side of the screen.

3. Scroll down until you find the Snowflake Data Cloud destination connector and click on it.

4. You will be prompted to enter your Snowflake account information, including your account name, username, and password.

5. After entering your account information, click on the "Test" button to ensure that the connection is successful.

6. If the test is successful, click on the "Save" button to save your Snowflake Data Cloud destination connector settings.

7. You can now use the Snowflake Data Cloud destination connector to transfer data from your Airbyte sources to your Snowflake account.

8. To set up a data transfer, navigate to the "Sources" tab on the left-hand side of the screen and select the source you want to transfer data from.

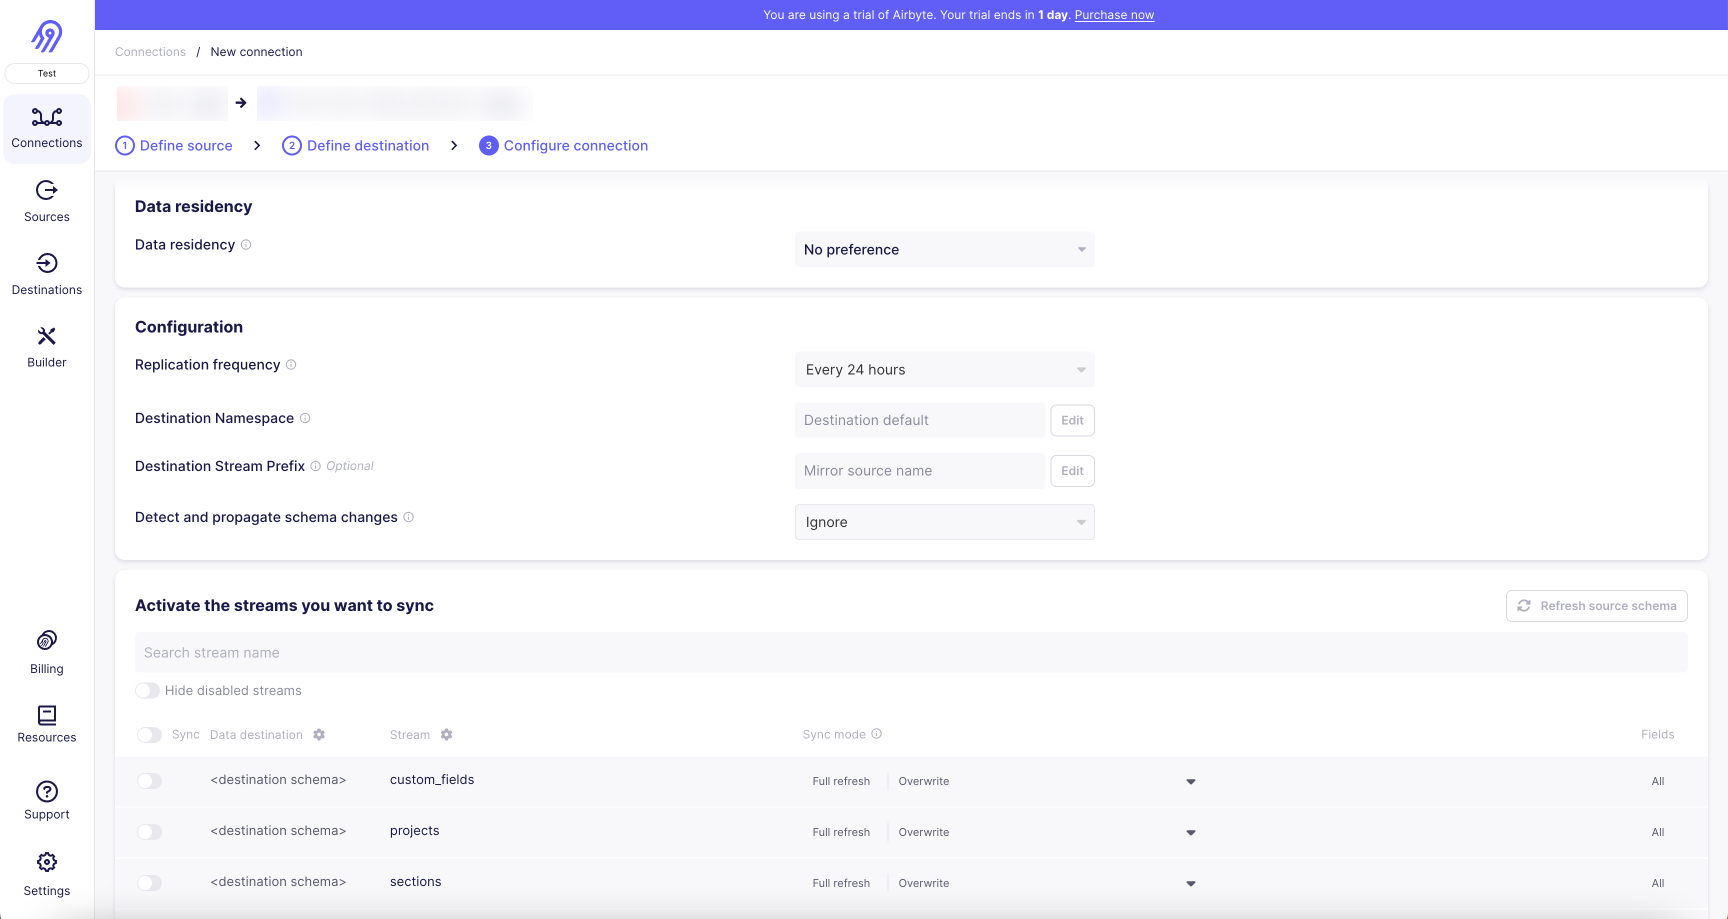
9. Click on the "Create New Connection" button and select the Snowflake Data Cloud destination connector as your destination.

10. Follow the prompts to set up your data transfer, including selecting the tables or data sources you want to transfer and setting up any necessary transformations or mappings.

11. Once you have set up your data transfer, click on the "Run" button to start the transfer process.

Step 3: Set up a connection to sync your Zendesk Support data to Snowflake destination

Once you've successfully connected Zendesk Support as a data source and Snowflake destination as a destination in Airbyte, you can set up a data pipeline between them with the following steps:

  1. Create a new connection: On the Airbyte dashboard, navigate to the 'Connections' tab and click the '+ New Connection' button.
  2. Choose your source: Select Zendesk Support from the dropdown list of your configured sources.
  3. Select your destination: Choose Snowflake destination from the dropdown list of your configured destinations.
  4. Configure your sync: Define the frequency of your data syncs based on your business needs. Airbyte allows both manual and automatic scheduling for your data refreshes.
  5. Select the data to sync: Choose the specific Zendesk Support objects you want to import data from towards Snowflake destination. You can sync all data or select specific tables and fields.
  6. Select the sync mode for your streams: Choose between full refreshes or incremental syncs (with deduplication if you want), and this for all streams or at the stream level. Incremental is only available for streams that have a primary cursor.
  7. Test your connection: Click the 'Test Connection' button to make sure that your setup works. If the connection test is successful, save your configuration.
  8. Start the sync: If the test passes, click 'Set Up Connection'. Airbyte will start moving data from Zendesk Support to Snowflake destination according to your settings.

Remember, Airbyte keeps your data in sync at the frequency you determine, ensuring your Snowflake destination data warehouse is always up-to-date with your Zendesk Support data.

Use Cases to transfer your Zendesk Support data to Snowflake destination

Integrating data from Zendesk Support to Snowflake destination provides several benefits. Here are a few use cases:

  1. Advanced Analytics: Snowflake destination’s powerful data processing capabilities enable you to perform complex queries and data analysis on your Zendesk Support data, extracting insights that wouldn't be possible within Zendesk Support alone.
  2. Data Consolidation: If you're using multiple other sources along with Zendesk Support, syncing to Snowflake destination allows you to centralize your data for a holistic view of your operations, and to set up a change data capture process so you never have any discrepancies in your data again.
  3. Historical Data Analysis: Zendesk Support has limits on historical data. Syncing data to Snowflake destination allows for long-term data retention and analysis of historical trends over time.
  4. Data Security and Compliance: Snowflake destination provides robust data security features. Syncing Zendesk Support data to Snowflake destination ensures your data is secured and allows for advanced data governance and compliance management.
  5. Scalability: Snowflake destination can handle large volumes of data without affecting performance, providing an ideal solution for growing businesses with expanding Zendesk Support data.
  6. Data Science and Machine Learning: By having Zendesk Support data in Snowflake destination, you can apply machine learning models to your data for predictive analytics, customer segmentation, and more.
  7. Reporting and Visualization: While Zendesk Support provides reporting tools, data visualization tools like Tableau, PowerBI, Looker (Google Data Studio) can connect to Snowflake destination, providing more advanced business intelligence options. If you have a Zendesk Support table that needs to be converted to a Snowflake destination table, Airbyte can do that automatically.

Wrapping Up

To summarize, this tutorial has shown you how to:

  1. Configure a Zendesk Support account as an Airbyte data source connector.
  2. Configure Snowflake destination as a data destination connector.
  3. Create an Airbyte data pipeline that will automatically be moving data directly from Zendesk Support to Snowflake destination after you set a schedule

With Airbyte, creating data pipelines take minutes, and the data integration possibilities are endless. Airbyte supports the largest catalog of API tools, databases, and files, among other sources. Airbyte's connectors are open-source, so you can add any custom objects to the connector, or even build a new connector from scratch without any local dev environment or any data engineer within 10 minutes with the no-code connector builder.

We look forward to seeing you make use of it! We invite you to join the conversation on our community Slack Channel, or sign up for our newsletter. You should also check out other Airbyte tutorials, and Airbyte’s content hub!

What should you do next?

Hope you enjoyed the reading. Here are the 3 ways we can help you in your data journey:

flag icon
Easily address your data movement needs with Airbyte Cloud
Take the first step towards extensible data movement infrastructure that will give a ton of time back to your data team. 
Get started with Airbyte for free
high five icon
Talk to a data infrastructure expert
Get a free consultation with an Airbyte expert to significantly improve your data movement infrastructure. 
Talk to sales
stars sparkling
Improve your data infrastructure knowledge
Subscribe to our monthly newsletter and get the community’s new enlightening content along with Airbyte’s progress in their mission to solve data integration once and for all.
Subscribe to newsletter

Should you build or buy your data pipelines?

Download our free guide and discover the best approach for your needs, whether it's building your ELT solution in-house or opting for Airbyte Open Source or Airbyte Cloud.

Download now

Frequently Asked Questions

What data can you extract from Zendesk Support?

Zendesk Support's API provides access to a wide range of data related to customer support and service management. The following are the categories of data that can be accessed through the API:  

1. Tickets: Information related to customer inquiries, including ticket ID, subject, description, status, priority, and tags.  
2. Users: Data related to customer profiles, including name, email, phone number, and organization.  
3. Organizations: Information about customer organizations, including name, domain, and tags.  
4. Groups: Data related to support groups, including name, description, and membership.  
5. Views: Information about support views, including name, description, and filters.  
6. Macros: Data related to macros, including name, description, and actions.  
7. Triggers: Information about triggers, including name, description, and conditions.  
8. Custom Fields: Data related to custom fields, including name, type, and options.  
9. Attachments: Information about attachments, including file name, size, and content.  
10. Comments: Data related to ticket comments, including author, body, and timestamp.  Overall, Zendesk Support's API provides access to a comprehensive set of data that can be used to manage and optimize customer support and service operations.

What data can you transfer to Snowflake destination?

You can transfer a wide variety of data to Snowflake destination. This usually includes structured, semi-structured, and unstructured data like transaction records, log files, JSON data, CSV files, and more, allowing robust, scalable data integration and analysis.

What are top ETL tools to transfer data from Zendesk Support to Snowflake destination?

The most prominent ETL tools to transfer data from Zendesk Support to Snowflake destination include:

  • Airbyte
  • Fivetran
  • Stitch
  • Matillion
  • Talend Data Integration

These tools help in extracting data from Zendesk Support and various sources (APIs, databases, and more), transforming it efficiently, and loading it into Snowflake destination and other databases, data warehouses and data lakes, enhancing data management capabilities.